Mar. 27, 2026
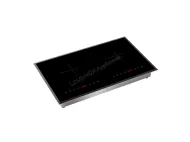
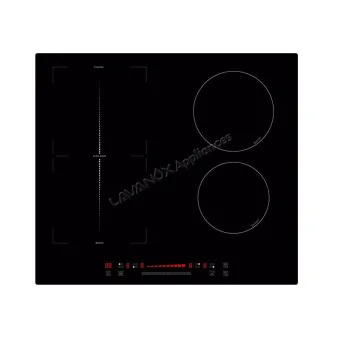
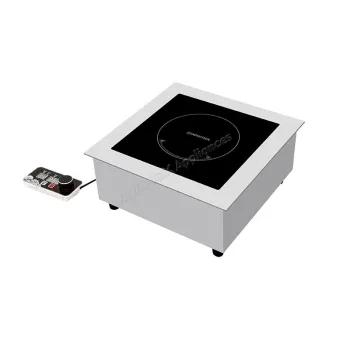
How do I install a 4 burner induction cooktop? Installing a 4 burner induction cooktop can seem challenging. However, with the right guidance, you can set it up yourself. Many people worry about making mistakes during the installation. Induction cooktops offer quick cooking times and energy efficiency. They are also easy to clean and safe to use. Knowing the installation process can alleviate your worries. Let us explore how to install your cooktop step by step. 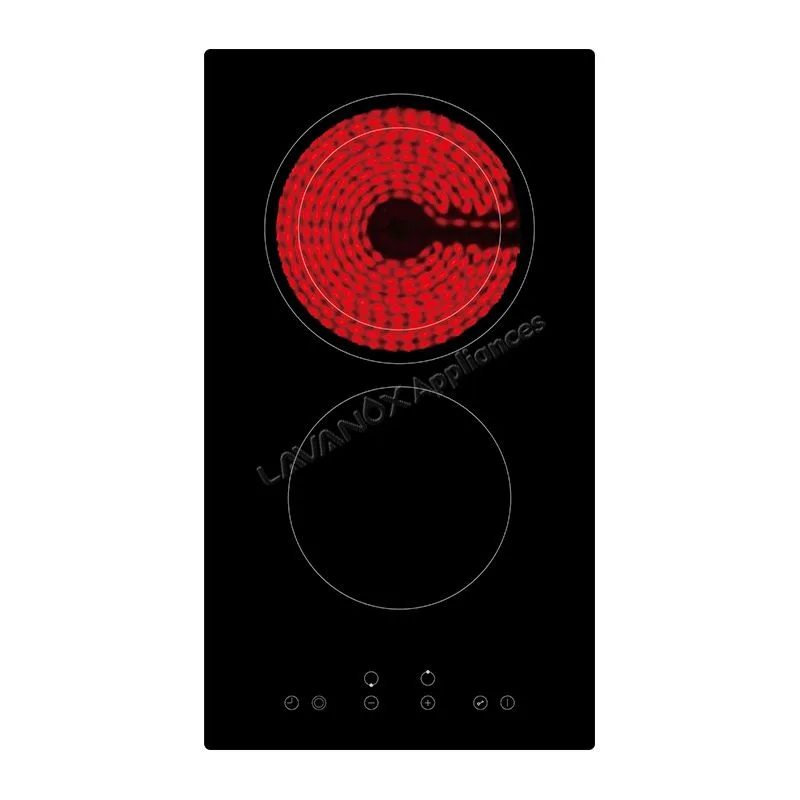
To install a 4 burner induction cooktop, ensure you have the right tools, prepare the installation space, and follow the manufacturer’s instructions carefully. This will help you achieve safe and efficient installation.
Follow these steps to install your cooktop correctly:
Ensure you have all the necessary tools. These include a screwdriver, wrench, and level.
Clean the area where you plan to install the cooktop. Ensure the surface is level. Remove any obstacles that might block access.
Verify the electrical outlet meets the cooktop's requirements. Most induction cooktops require a dedicated outlet.
Follow the specific wiring diagram provided in the user manual. Securely connect the wires to the unit.
Carefully place the cooktop into the cut-out in the countertop. Make sure it fits snugly.
Once installed, plug it in and turn on the cooktop. Check each burner to ensure they function properly.
When installing your cooktop, keep these factors in mind:
Ensure your kitchen is well-ventilated. Good airflow is essential for safe cooking.
Not all cookware works with induction cooktops. Use induction-compatible pots and pans.
Always refer to the manufacturer's guidelines for installation. Following these ensures safety and functionality.
After installation, it’s important to test your cooktop. Here’s how to do it:
Switch on the breaker or plug in the cooktop. Look for lights or indicators showing it is ready.
Start with one burner. Place compatible cookware on it and set to a low heat. Observe if it heats up.
Once confirmed, gradually increase the heat. Ensure each burner operates effectively.
In summary, installing a 4 burner induction cooktop can be straightforward. By following these steps and considerations, you can enjoy the benefits of efficient cooking. Remember to follow the manufacturer’s guidelines closely. This ensures a proper and safe installation for your new cooktop.
Q: Can I install the cooktop myself?
A: Yes, if you follow the instructions and are comfortable with basic electrical work.
Q: What if my existing outlet isn’t suitable?
A: You may need to call an electrician to install a proper outlet for your cooktop.
Q: How do I know if my cookware is compatible?
A: Test it with a magnet. If it sticks, it’s induction-compatible.
Related News
How does a built-in induction cooktop work?
Nov. 24, 2025

How do I install a built-in induction cooktop?
Mar. 18, 2026
Do induction cooktops produce heat in the kitchen?
Oct. 22, 2025

How fast do induction cooktops heat food?
Oct. 10, 2025
Sep. 18, 2025
What are the advantages of a built-in induction cooktop?
Dec. 01, 2025
What are the advantages of a built-in induction cooktop?
Mar. 13, 2026
Related Products
Request a Quote
Request a Quote
Navigation
Navigation
Products
Products
Contact Us
Contact Us
E-mail: aml@kastbuild.cn
Mobile: +86 178 4699 3583
Tel.: +86 178 4699 3583
WhatsApp: +8617846993583
Add.: 4th Floor, Building A, No. 50 Feiyue Road, Nantou Town, Zhongshan City, Guangdong Province.